A useful personal brand photo session begins with a clear brief. Before choosing outfits or a location, decide what the images need to help someone understand about your work and where the photographs will be used.
The brief can fit on one page. Its job is to reduce guesswork for you and the photographer while leaving room for good ideas during the session.
Start with the audience and purpose
Name the people who will see the images and the impression you want to communicate through real evidence. A consultant may need approachability and clarity; a designer may want the making process to be visible. Avoid abstract adjectives that nobody can translate into a photograph.
Write down the intended uses: website header, profile image, speaker biography, editorial feature, or social posts. Each may require a different crop or amount of open space. Share those needs before the session.
Build a short shot list
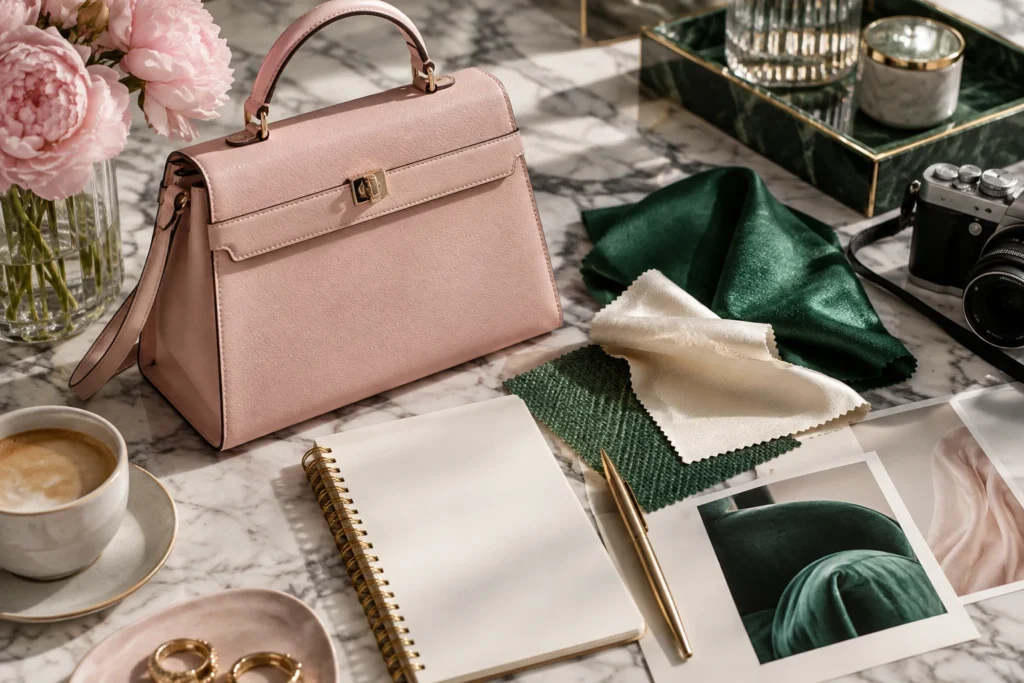
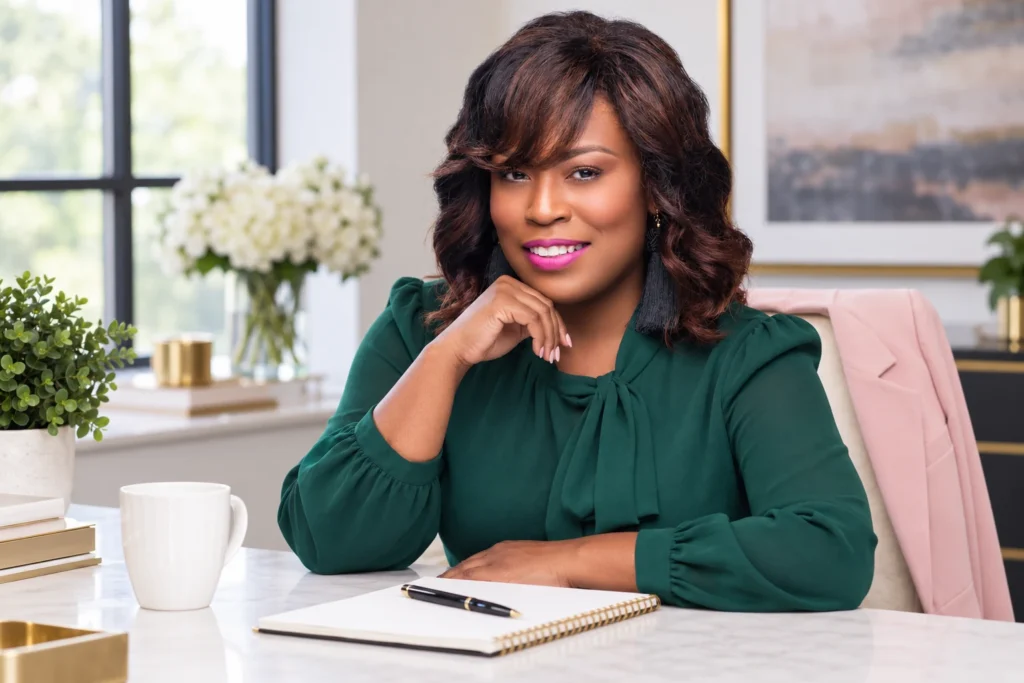
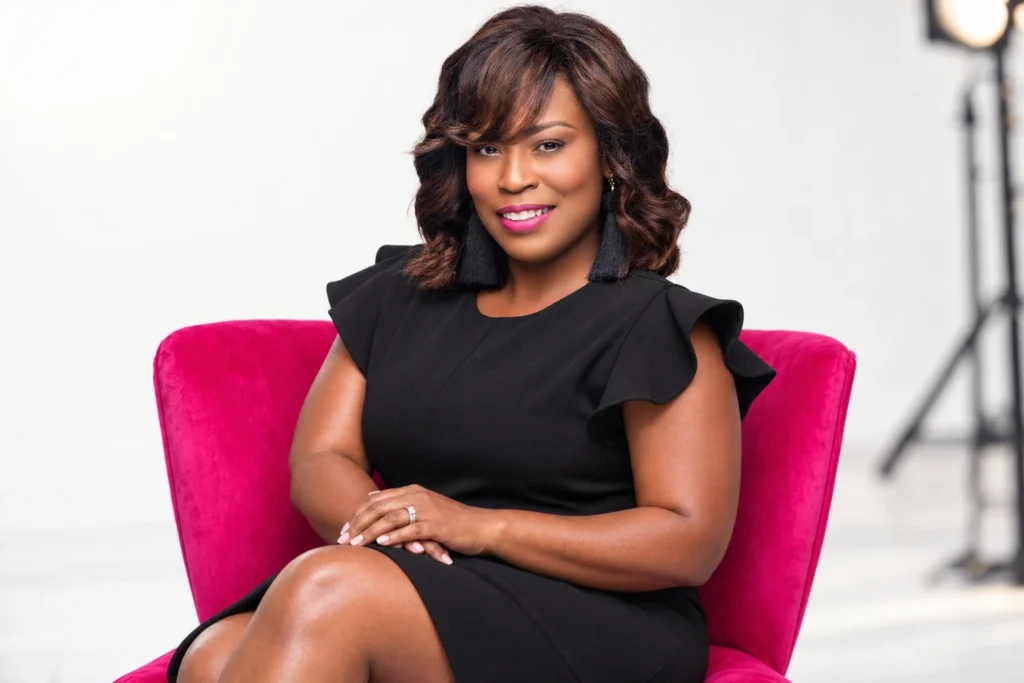
| Image | What it should provide | | — | — | | Clear headshot | A recognizable face at small sizes | | Seated or standing portrait | Posture, expression, and clothing context | | Working image | An accurate view of a real activity | | Detail image | Useful objects or process without repeating the portrait | | Wide composition | Space for a website layout or accompanying copy |
Ask the photographer which combinations can be covered well within the time available. A short, prioritized list is easier to execute than dozens of loosely defined ideas.

Choose outfits with distinct roles
Select a small number of looks that fit the settings and your actual work. A strong pink jacket can provide color and recognition; a quieter black or ivory look can offer a flexible alternative. Try everything seated and standing in advance.
Include shoes, accessories, and the layers that will appear in the frame. Bring the clothes ready to wear, with care instructions followed. Avoid depending on substantial editing to fix a fit problem you can solve beforehand.
Keep the setting truthful
Use places, tools, and activities that accurately reflect your work, or clearly treat the image as a styled portrait. Do not imply a client relationship, credential, or event appearance through a prop or location that does not support that claim.
Agree with the photographer on delivery, editing preferences, intended uses, and credit. Explain which features of your appearance you want preserved and what kinds of retouching you do not want.
Finish the brief with priorities
List the three images you most need, the deadline, and any technical requirements supplied by your designer or publisher. Include a small set of references with a sentence explaining what you like about each.
A strong brief makes the session more focused and the resulting images easier to use. For help connecting your visual presence to a broader communications plan, explore the Kimberly West Agency.
Keep reading
- On-Camera Wardrobe: Prepare the Outfit Before the Interview
- Your Personal Brand in Three Clear Sentences
Have a style question? Ask Kim, or join the conversation on Instagram.